How to Apply Vinyl Decals Using the Wet Method: A Bubble-Free Guide
Share
Applying vinyl decals can be tricky, especially when air bubbles get trapped under the surface. The wet application method helps reduce bubbles and ensures a smooth, professional look. Follow these steps to properly apply your decal with ease.
Step 1: Prepare Your Decal
Before beginning, rub the sticker with your hand or a squeegee to ensure the transfer tape is securely adhered to the decal. This helps the decal stay in place when removing the backing paper.
Step 2: Clean the Surface
Thoroughly clean the area where you plan to apply the decal. Avoid using Goo Gone or any oil-based cleaners, as they can leave a greasy residue that prevents the decal from sticking properly. Instead, use a mild soap and water solution or isopropyl alcohol for the best results.
Step 3: Mist the Surface with a Soap & Water Solution
Fill a spray bottle with a mixture of dish soap and water at a 1:10 ratio (one part dish soap to ten parts water). Lightly mist the application area—this will allow for repositioning and minimize air bubbles.
Step 4: Position & Remove Backing Paper
Secure two corners of the decal to the surface using masking tape to hold it in place. Slowly peel away the paper backing, ensuring that the sticker remains adhered to the transfer tape.
Step 5: Mist the Sticky Side of the Decal
Lightly mist the sticky side of the decal with the soap and water solution. Do not spray the backing paper, as this can make it difficult to remove properly.
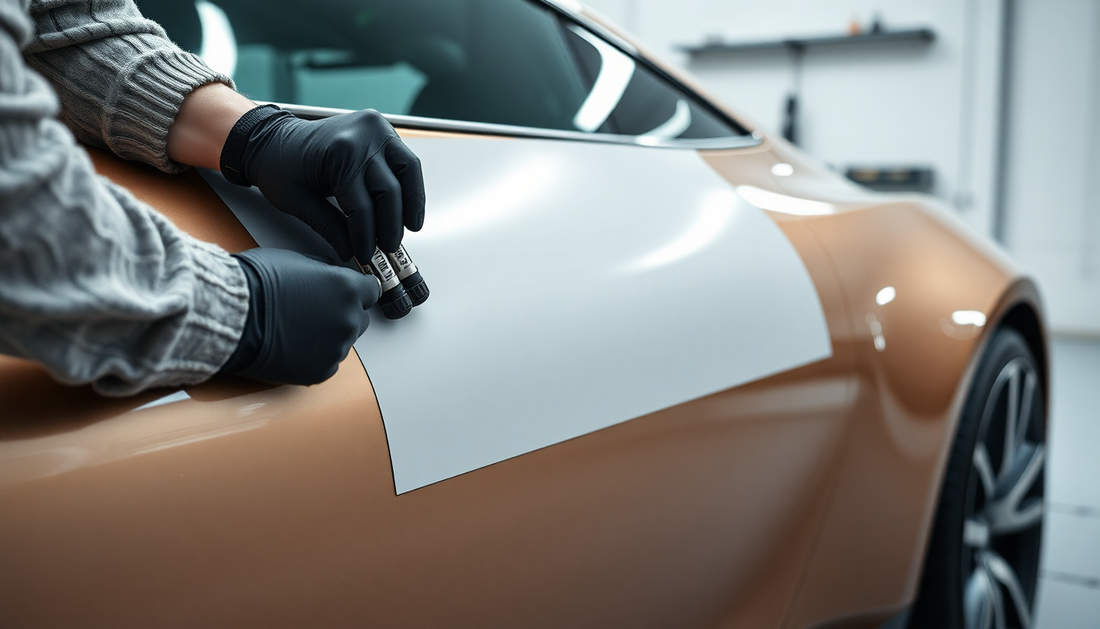
Step 6: Apply & Smooth Out the Decal
Carefully place the decal onto the misted surface. Use a squeegee or a hard-edged object like a credit card to smooth out the decal, starting from the center and working outward toward the edges. This helps eliminate excess moisture and any remaining air pockets.
Step 7: Remove the Transfer Tape
Slowly peel back the transfer tape by folding a corner and pulling it back at a sharp angle. Ensure that the decal remains adhered to the surface and does not lift with the transfer tape.
Step 8: Check for Air Bubbles
Most air bubbles can be worked out toward the edge using gentle pressure. If small bubbles remain, use a pin to create a tiny hole and press the air out. The hole will become virtually invisible as the decal settles.
Important Final Step: Allow Proper Curing Time
Avoid washing your vehicle or using a pressure washer for at least 72 hours. This gives the adhesive time to fully bond to the surface, ensuring long-lasting results.
By following these steps, you'll achieve a clean and professional decal application without the frustration of bubbles or misalignment. Happy decorating!